
Configurarea înregistrărilor MX Google Workspace – Ghid pas cu pas (2025)
Publicat: 2025-03-22
Acest articol nu este încă tradus complet în această limbă — mai jos este versiunea în engleză.
Setting up MX records for Google Workspace
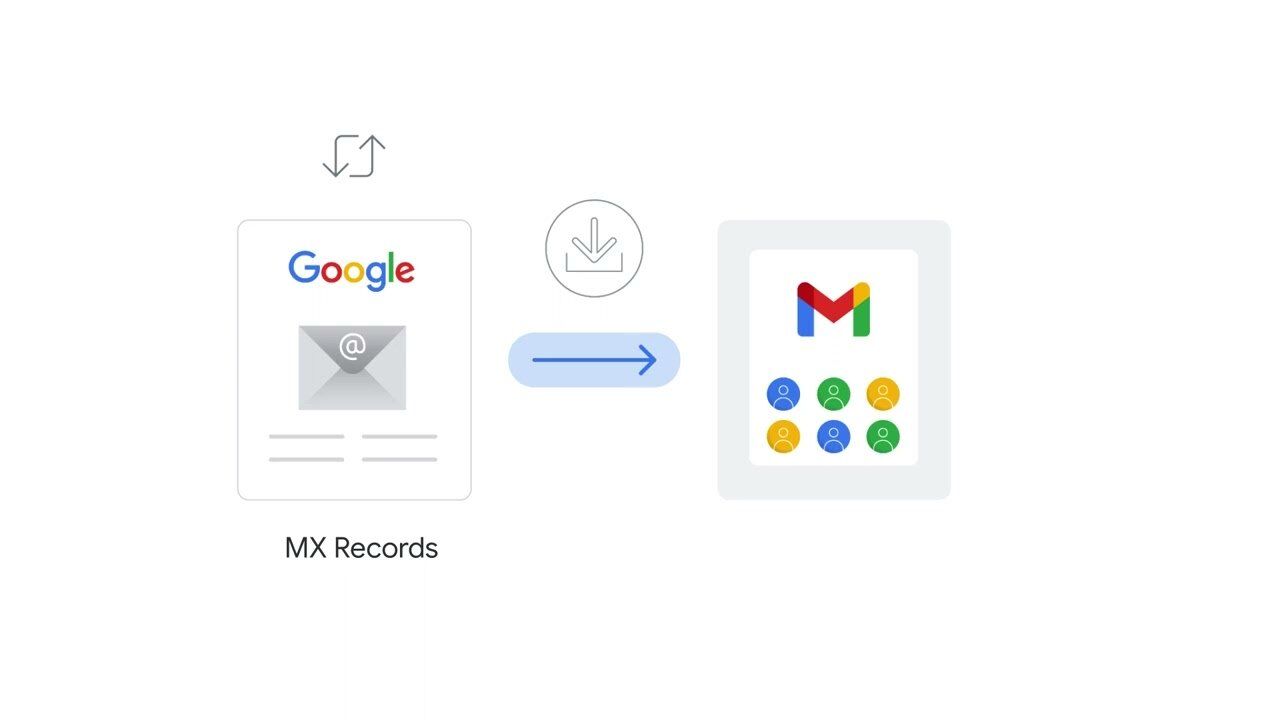
When someone sends you an email, the sender's computer queries the MX records of your email domain (for example @your-company.hu) to find out where to deliver the message. After you sign up for Google Workspace, you need to update your domain's MX records so that emails are routed to Google's mail servers and then to your mailbox.
To set up Google Workspace MX records, complete the following steps:
- Add Google's MX record at your domain provider
- Activate Gmail in the Google Admin console
Step one: Adding Google's MX record to your domain
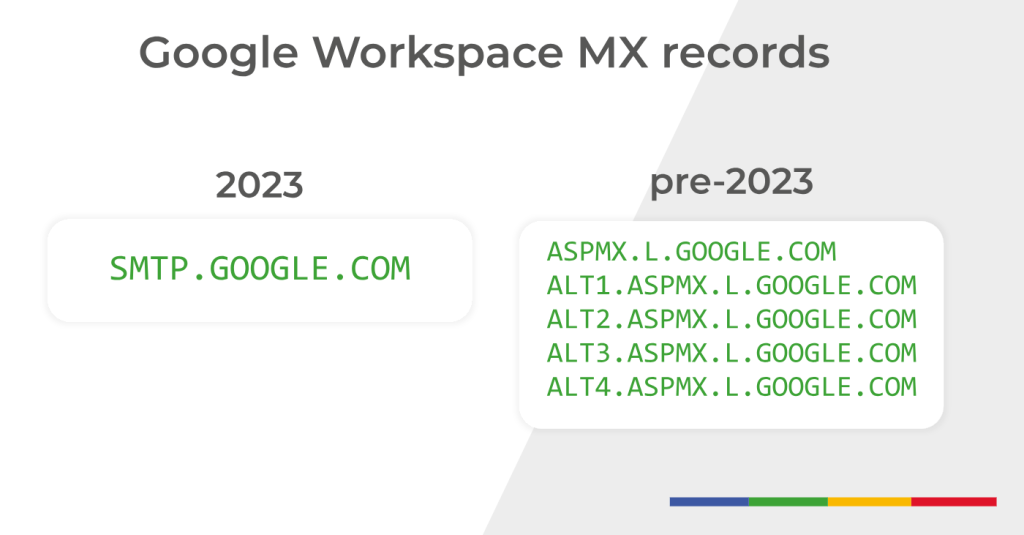
The Google MX record value is: **smtp.google.com**
You need to add this value to your domain settings so that your domain provider knows to forward incoming mail to Google.
General guide
- Sign in to the provider where you purchased and manage your domain.
This is where you can modify the MX records.
- Open the domain's DNS settings. Look for menu items such as DNS Records, Domain Management, or Name Server Management.
- Find the MX records.
- If MX records already exist, delete them, because old or incorrect records can cause problems with email delivery.
- Add a new MX record with the following values:
- Type: MX
- Name / Host / Alias: Leave it empty, or enter the
@symbol - TTL: Use the default value, or enter
1 - Priority: 1
- Value / Answer / Target: smtp.google.com
Important: Follow the format required by your domain provider!
Some providers, for example, require a trailing dot (smtp.google.com.), while others, such as Squarespace and Wix, offer preconfigured options.
- Save the new MX record.
- Wait for the changes to take effect. Recognition of the new MX records can take up to 72 hours.
Step two: Activating Gmail in the Admin console
- Sign in to the Google Admin console with an administrator account.
- If you use a non-administrator account, you will not be able to access the Admin console.
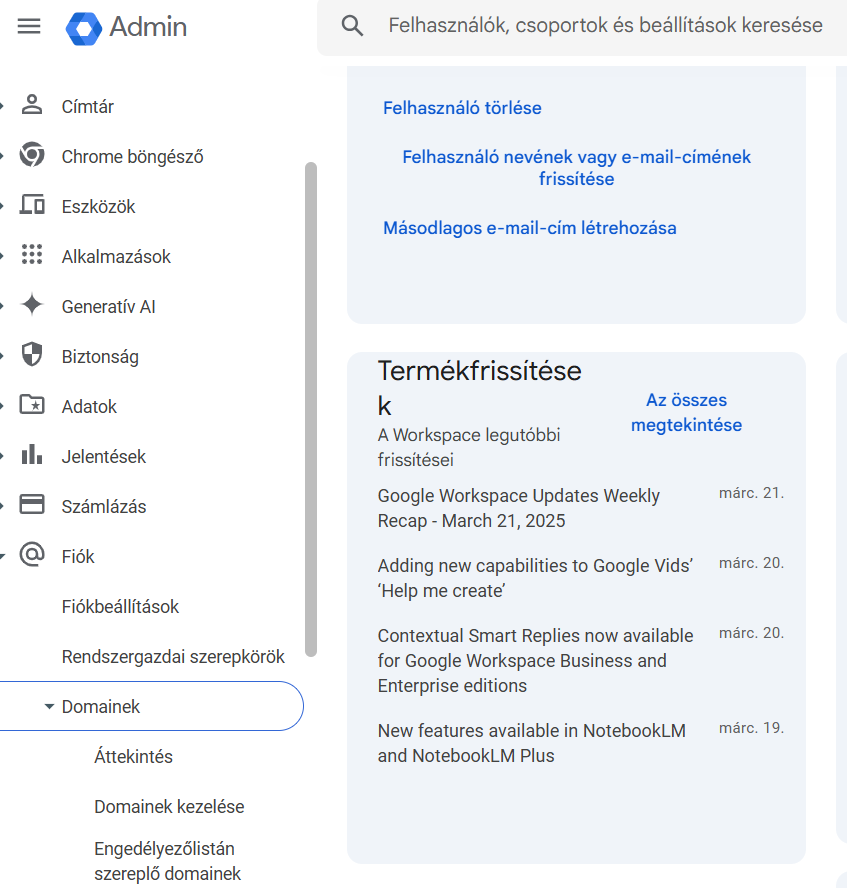
- Open Menu → Account → Domains → Manage domains.
- This requires administrator privileges.
- If you recently signed up for Google Workspace, you can use the setup tool.
- Click Activate Gmail for the domain you want to update, then follow the on-screen instructions.
Note: It can take up to 72 hours for the MX record update to take effect.
Troubleshooting steps
- Verify domain ownership:
Before setting up Gmail, you must prove ownership of the domain or subdomain.
- Double-check:
Make sure you entered all data correctly and followed your domain provider's format.
- Wait 72 hours:
It takes time for MX records to propagate across the internet.
- Use diagnostic tools:
With the Admin Toolbox Dig tool you can check whether the MX records published on the internet match the recommended values.
- Contact your domain provider:
If problems persist, the provider's customer support can help check the DNS settings.
Legacy MX record values
If you started using Google Workspace before 2023, your domain may have different MX records. If your email works correctly, no change is needed. Although every account can use the new, simplified MX record value, the old settings remain supported.